Assignment: Make something with CNC
For this week's assignment, I wanted to make something I could use. I landed on making a jewelry tray. My inspiration this week was an organic design — I went with a koi pond.
To create this project, I first modeled my design in Fusion.
To do this, I drew the shape of the pond, then imported vector images of the koi fish onto my sketch. After, I drew the other elements of the pond using Fusion's sketch tools.
Next, I loaded my design into the CNC software and prepared it to be cut. I noticed some issues with extra lines on the vector-image fish, so I went back and cleaned up my Fusion sketch. Then I was ready to start CNCing.
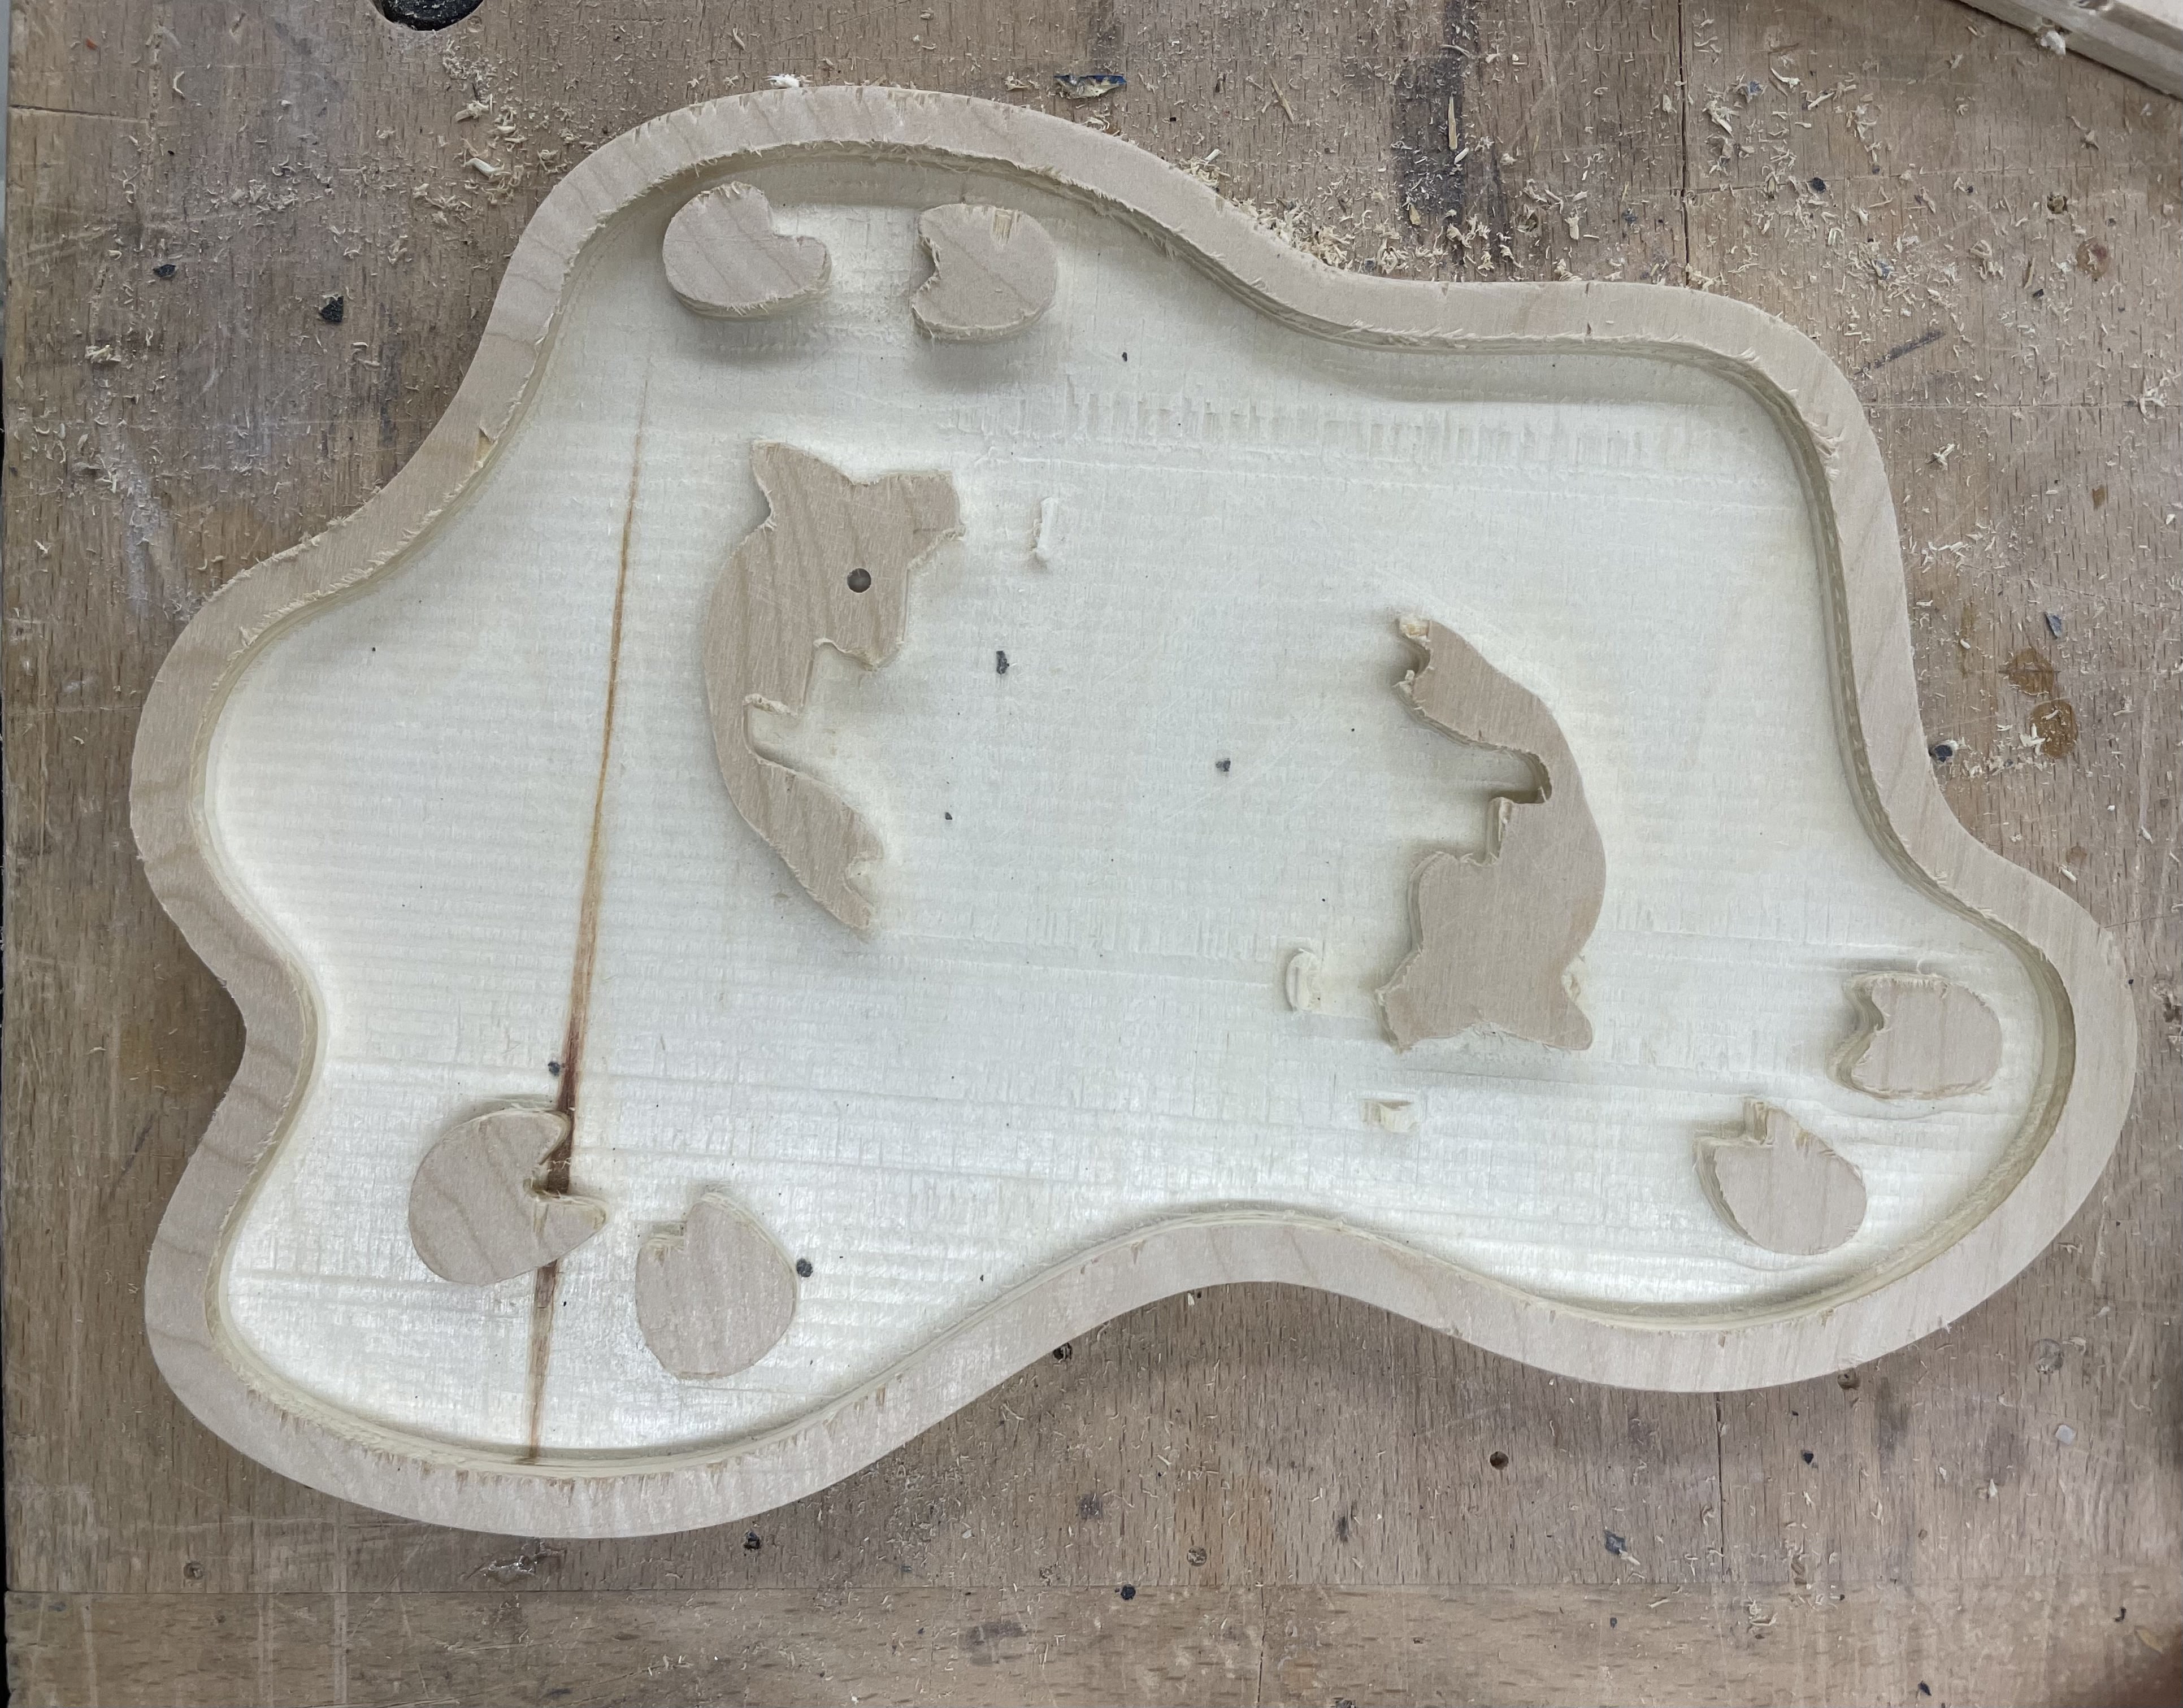
After sanding:
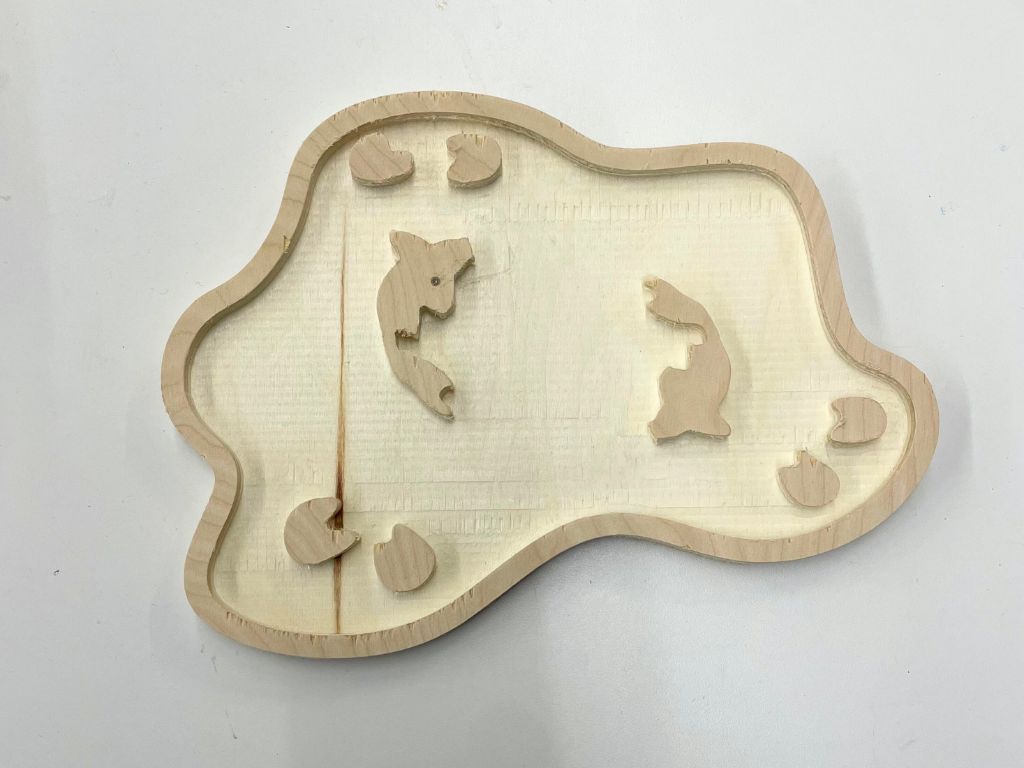
Reflections
Overall, I was happy with how the pond came out. I liked how the wood layering allowed the water to be a different color than the other elements. In future iterations, I'd scale the internal elements up a little so they cut cleaner (especially the water ripples, which I ended up sanding off) and smooth some of the edges on the fin/tail design. I'd also like to add more elements into the pond.
Molding and Casting
For the molding and casting portion, I wanted to mold and cast someone's head in plaster (inspired by the busts in Berg). To do this, I'd first need a scan of someone's head. Luckily, I knew just the right person to ask: Jack (who did not need convincing). As warned during 3D printing week, we found it difficult to pick up hair on the LIDAR scanner.
Having already scanned my objects from week 5, I didn't think it was the texture that was the problem. I thought it could be the way hair reflects light. So, we needed a way to matify Jack's hair…
The cornstarching
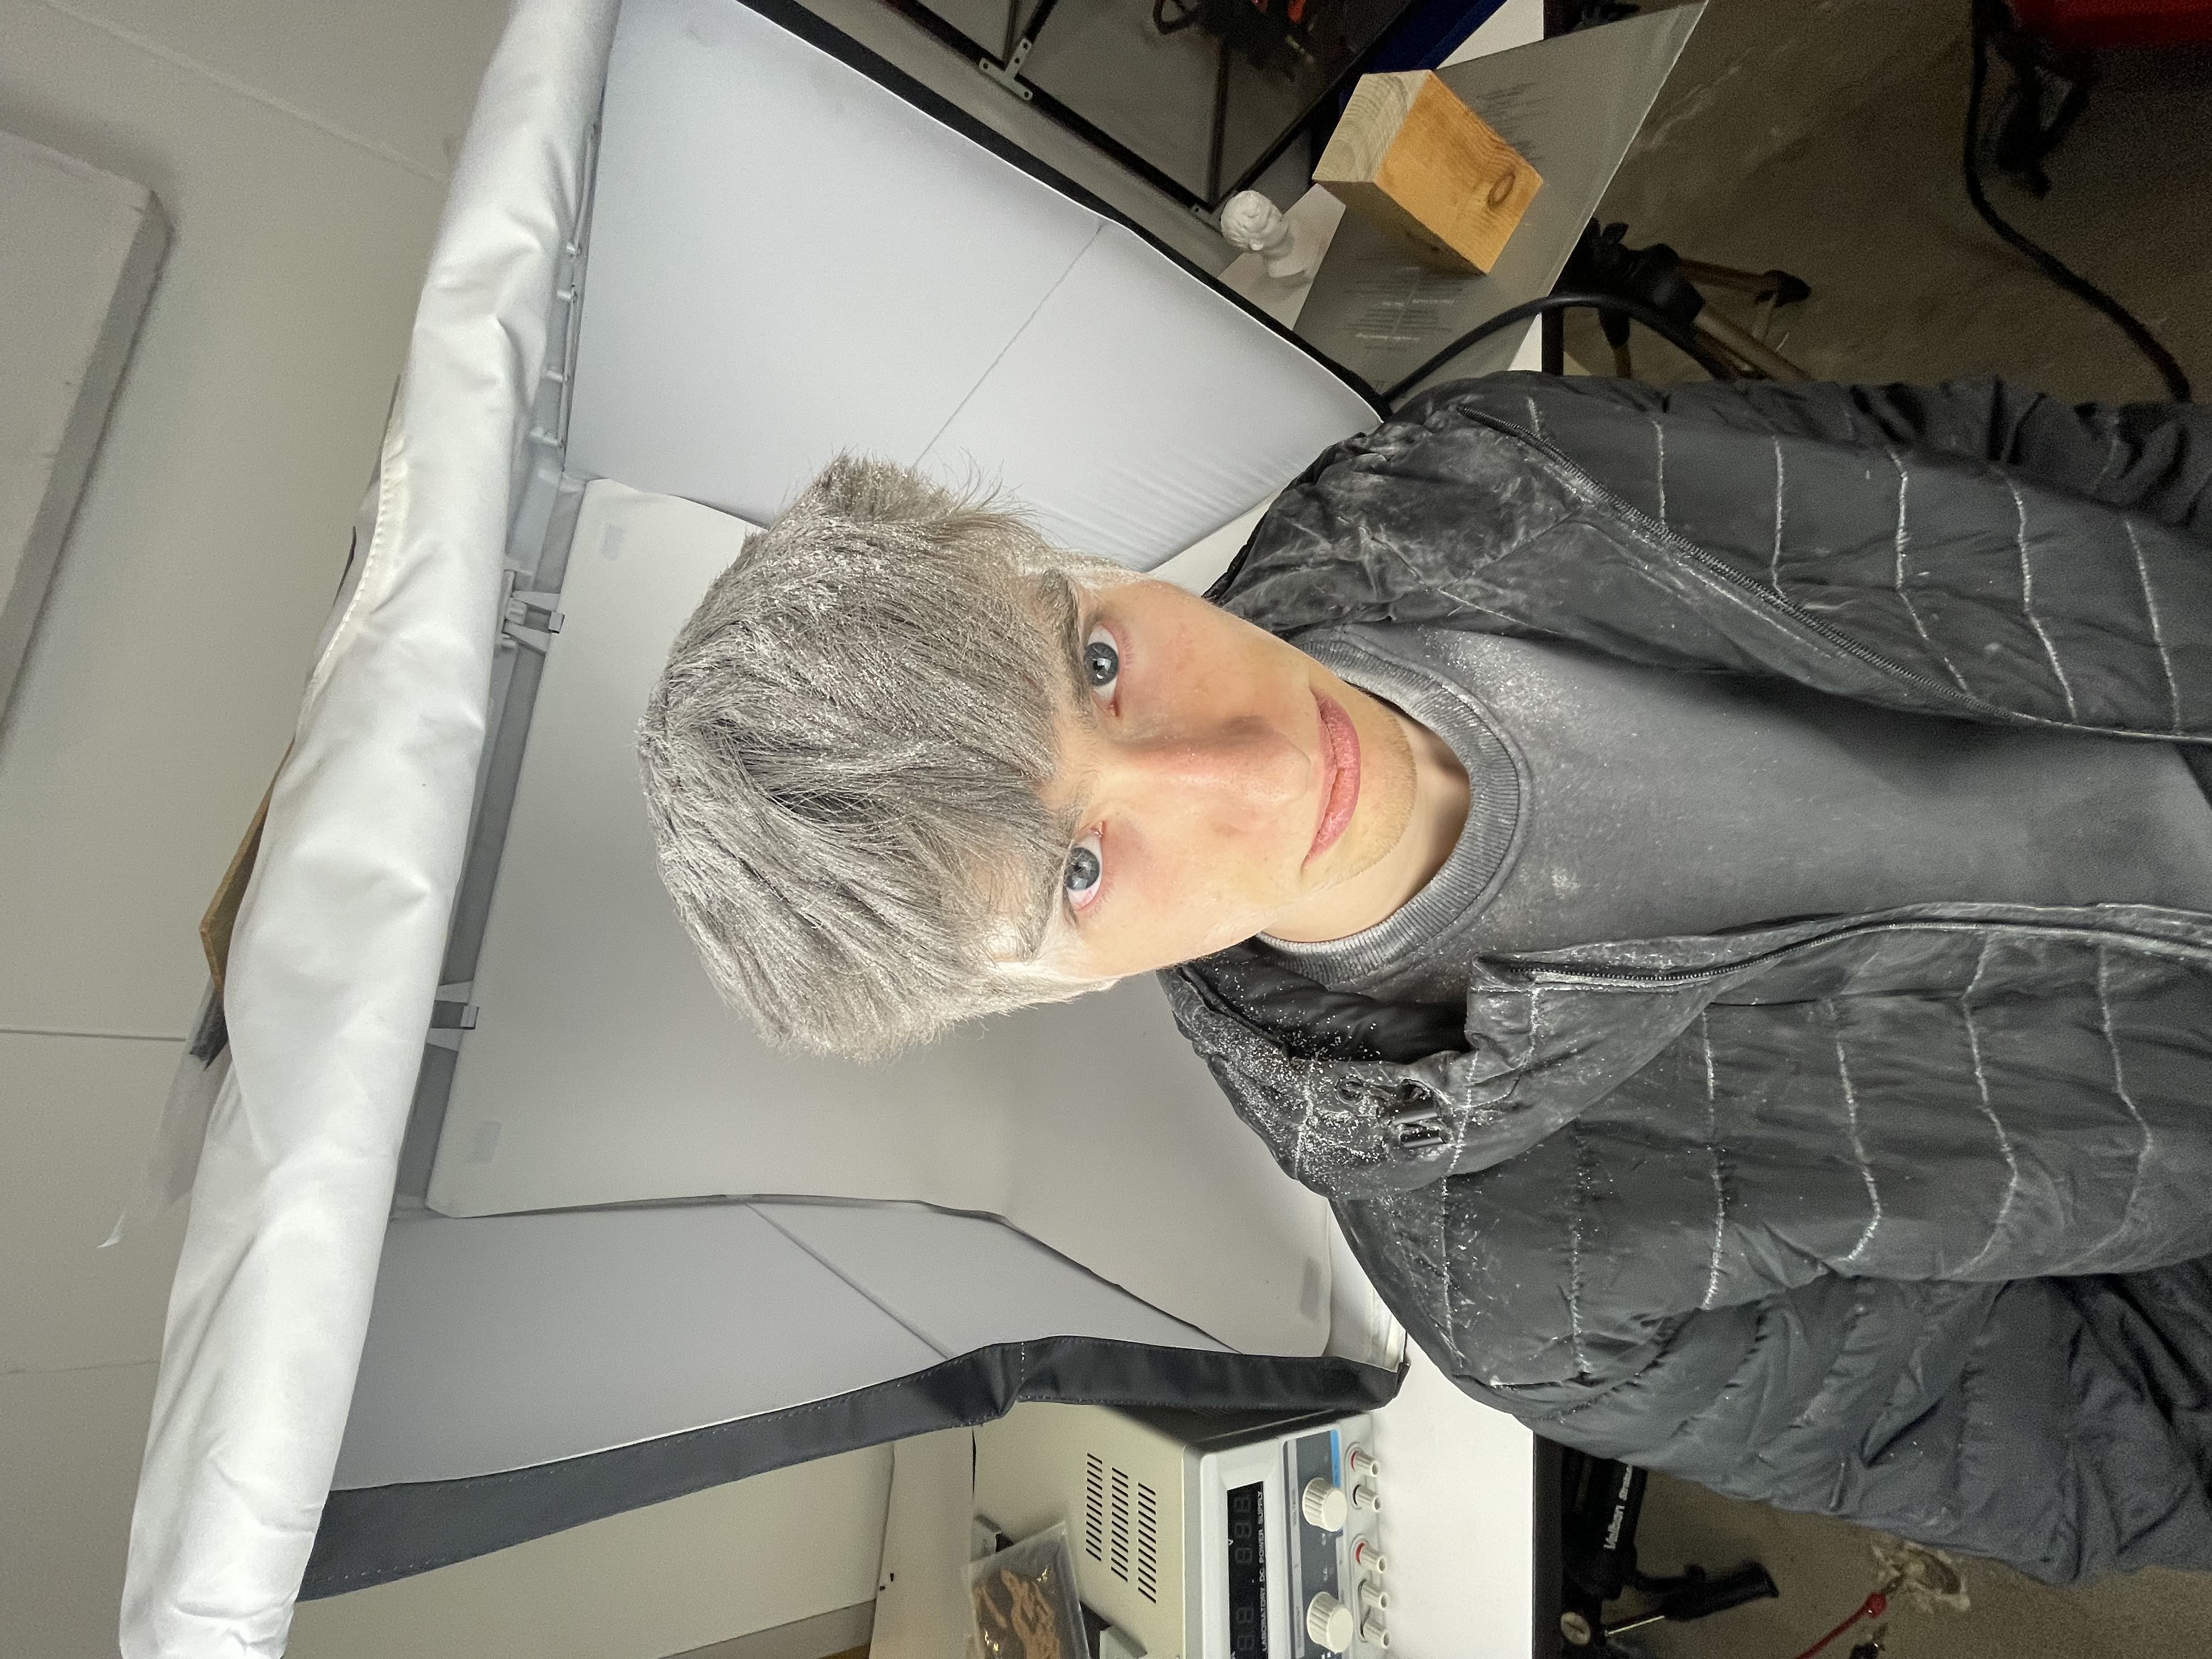
Now that Jack's hair was matified, we could scan his whole head! The scan file ended up being huge and I had to post-process it on a PC (the makerspace computer could not handle it). I ended up using three different softwares to post-process the file (RevoScan, Blender, and one other I'll link if I find it again).
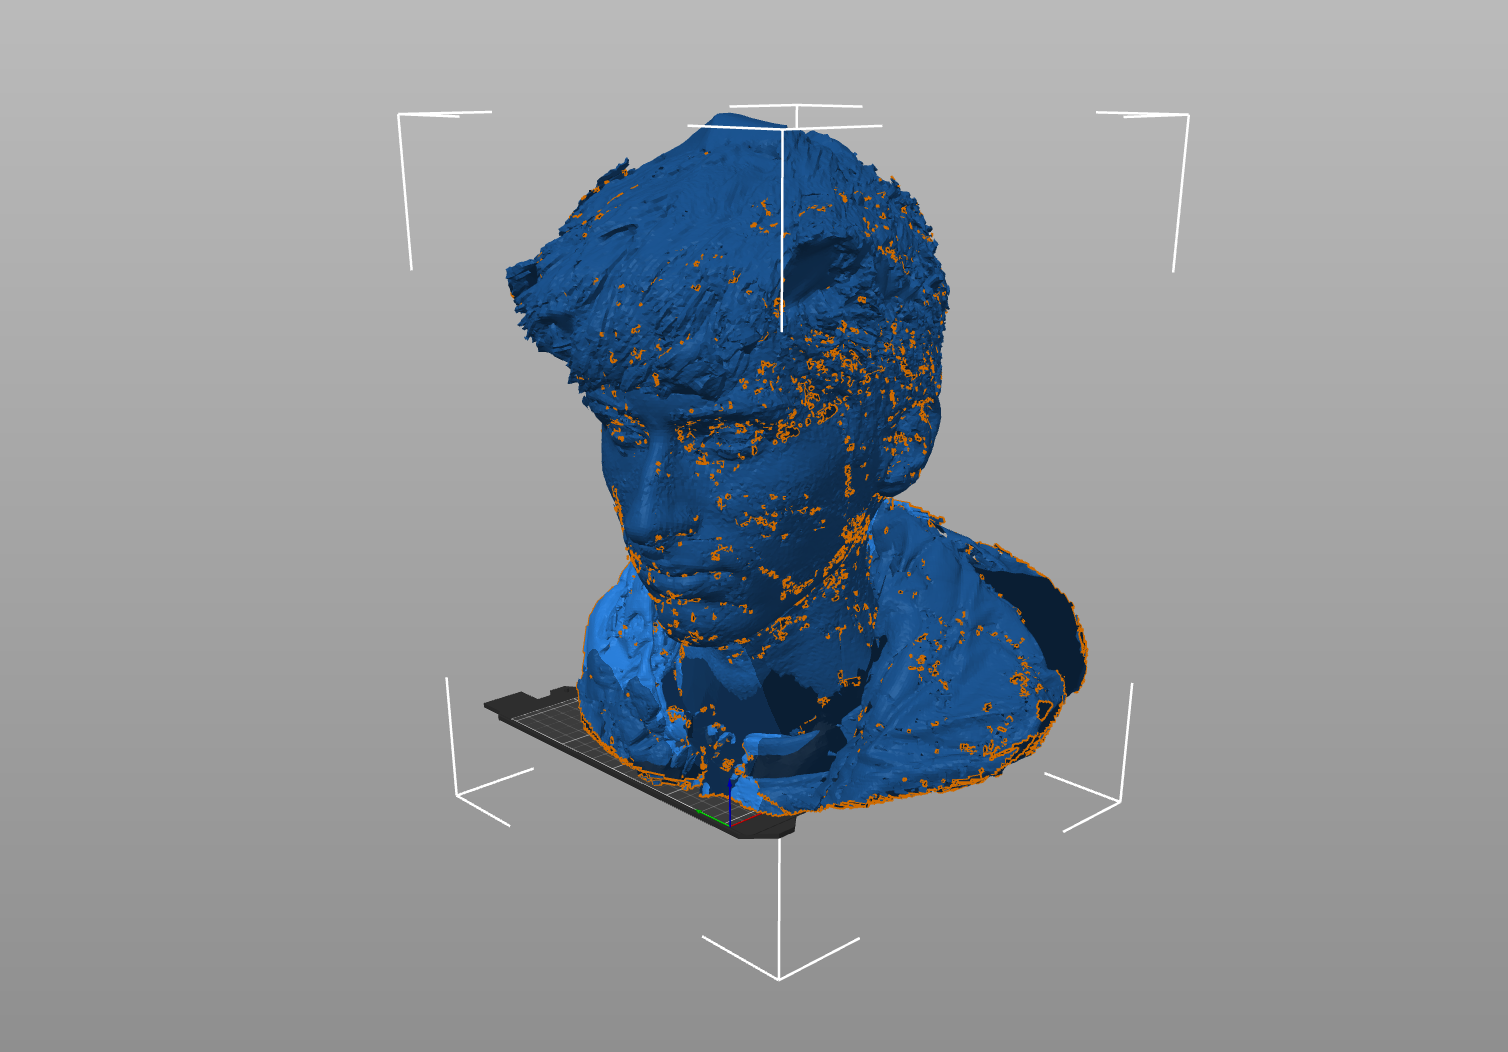
After extensive post-processing, the scan was ready to print. The print came out pretty well, except I accidentally decapitated the bottom of the print while removing it from the mold (shown next).
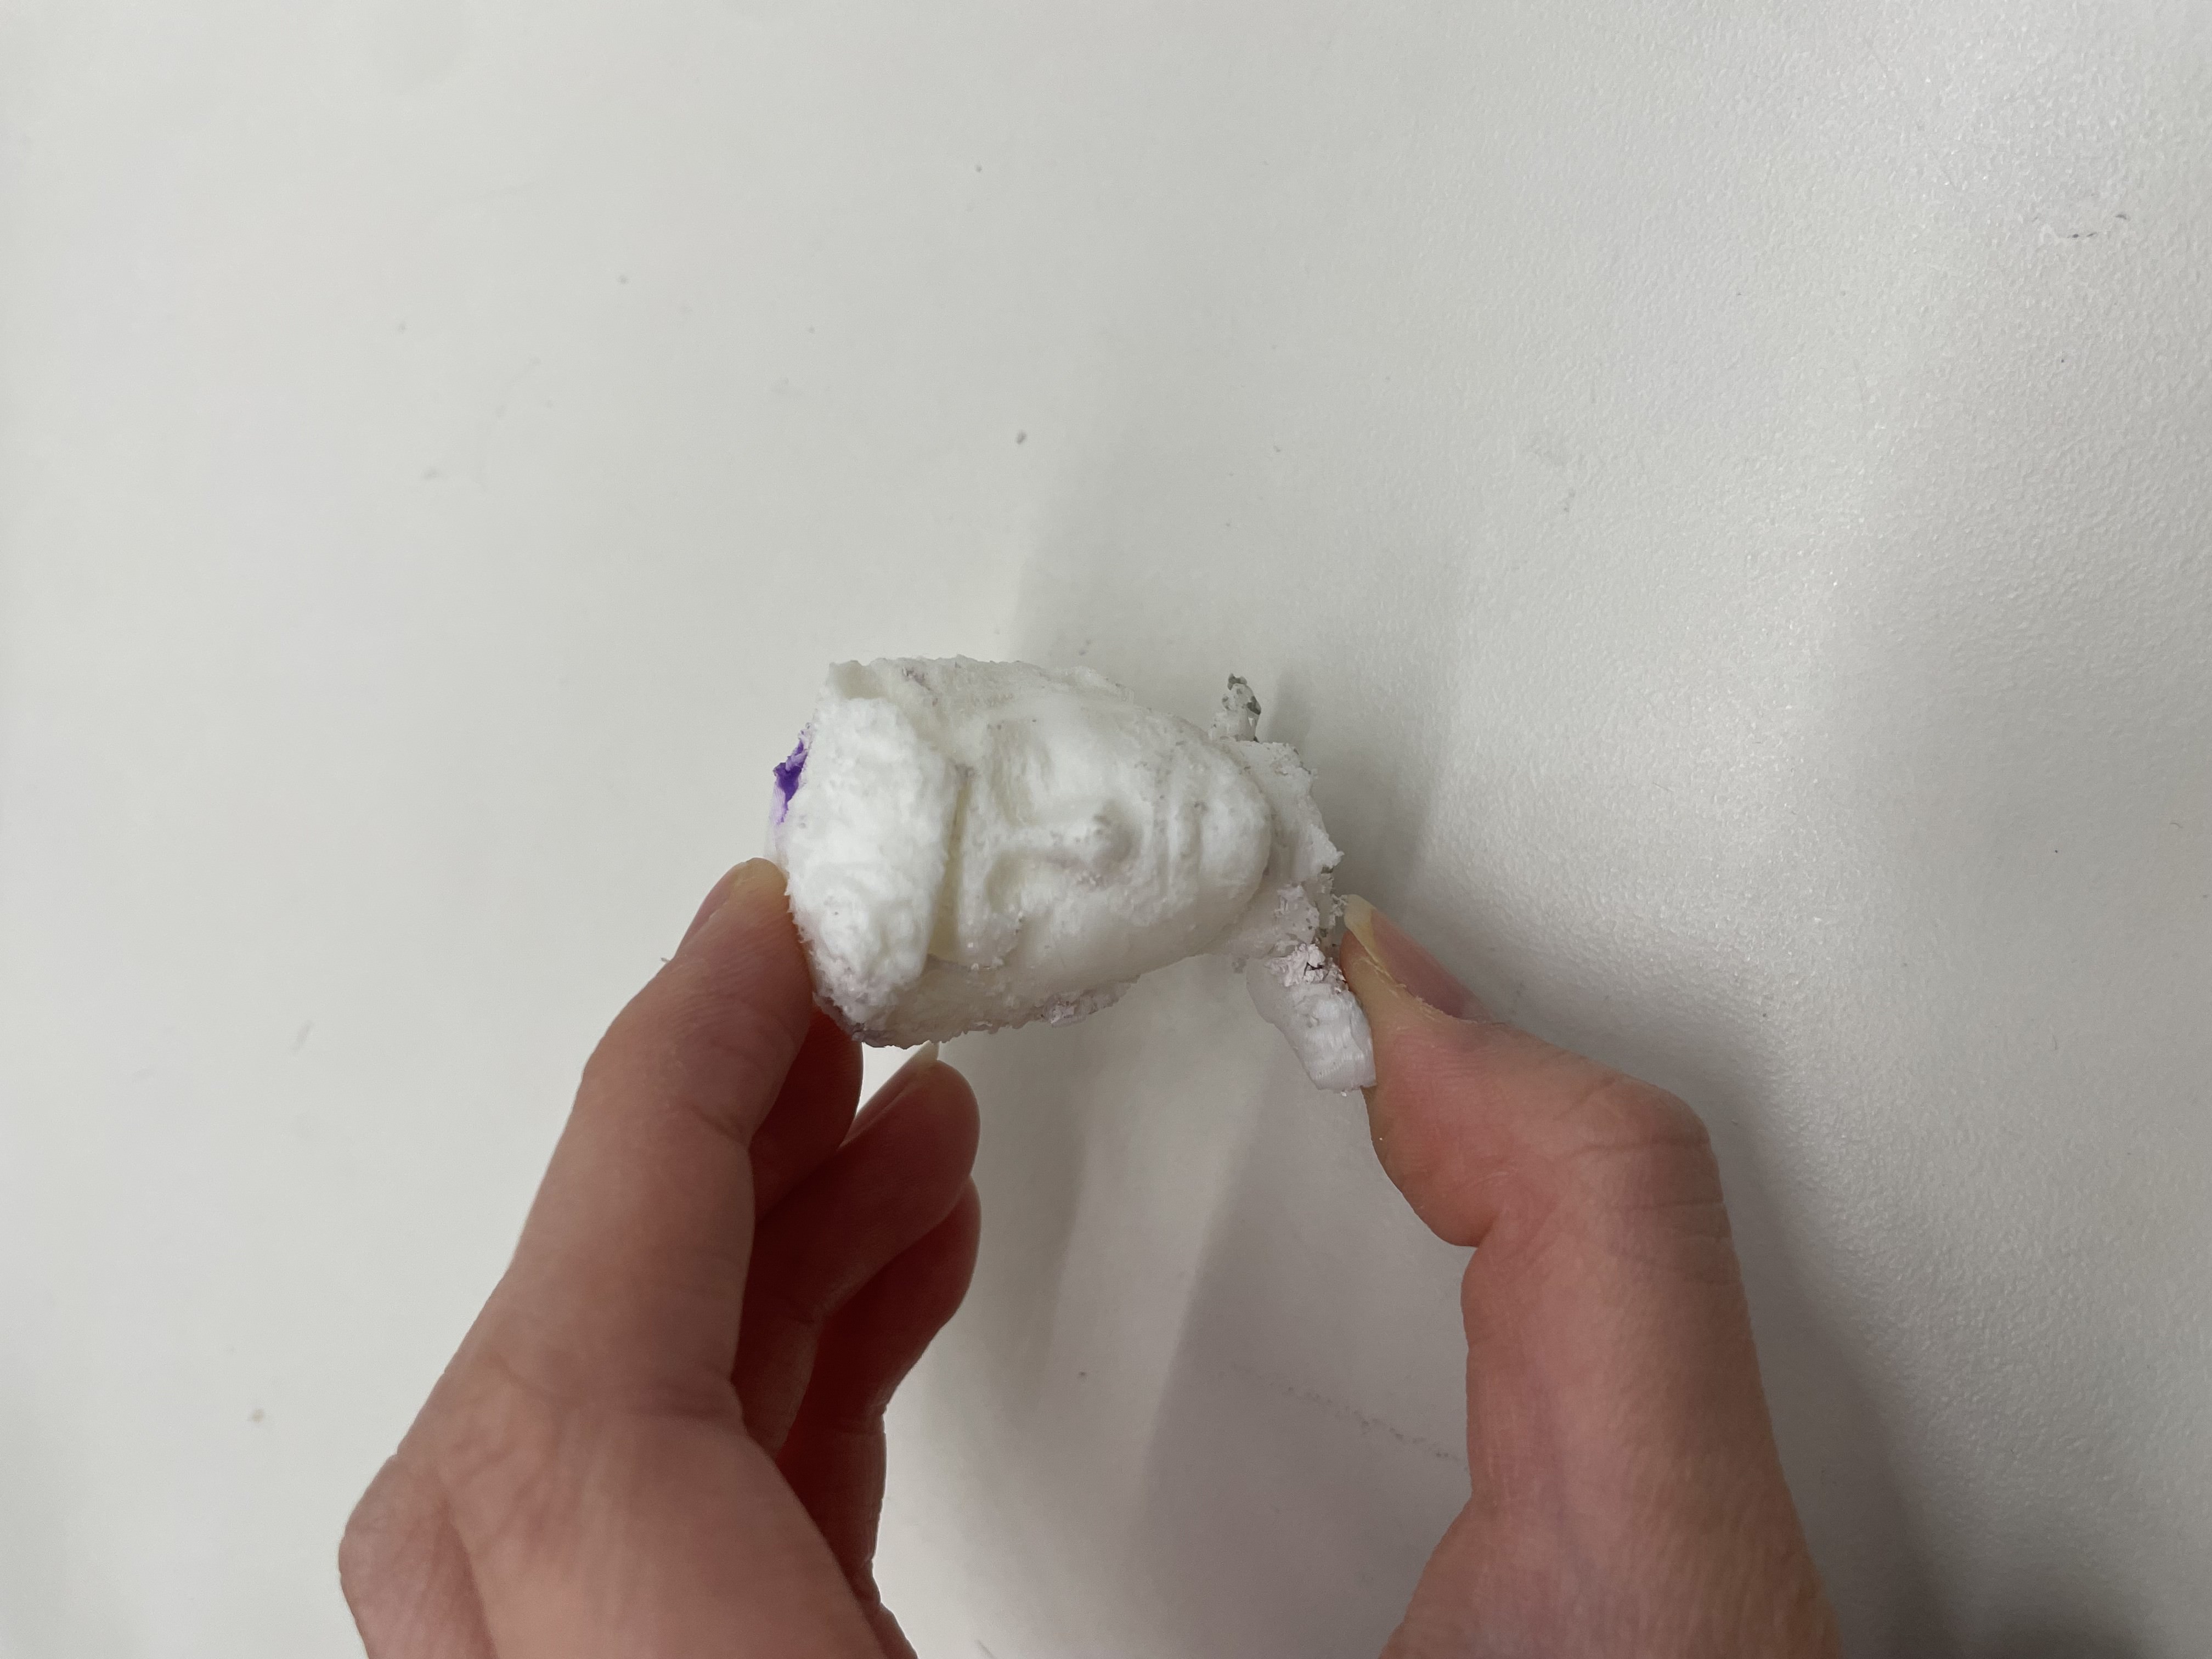
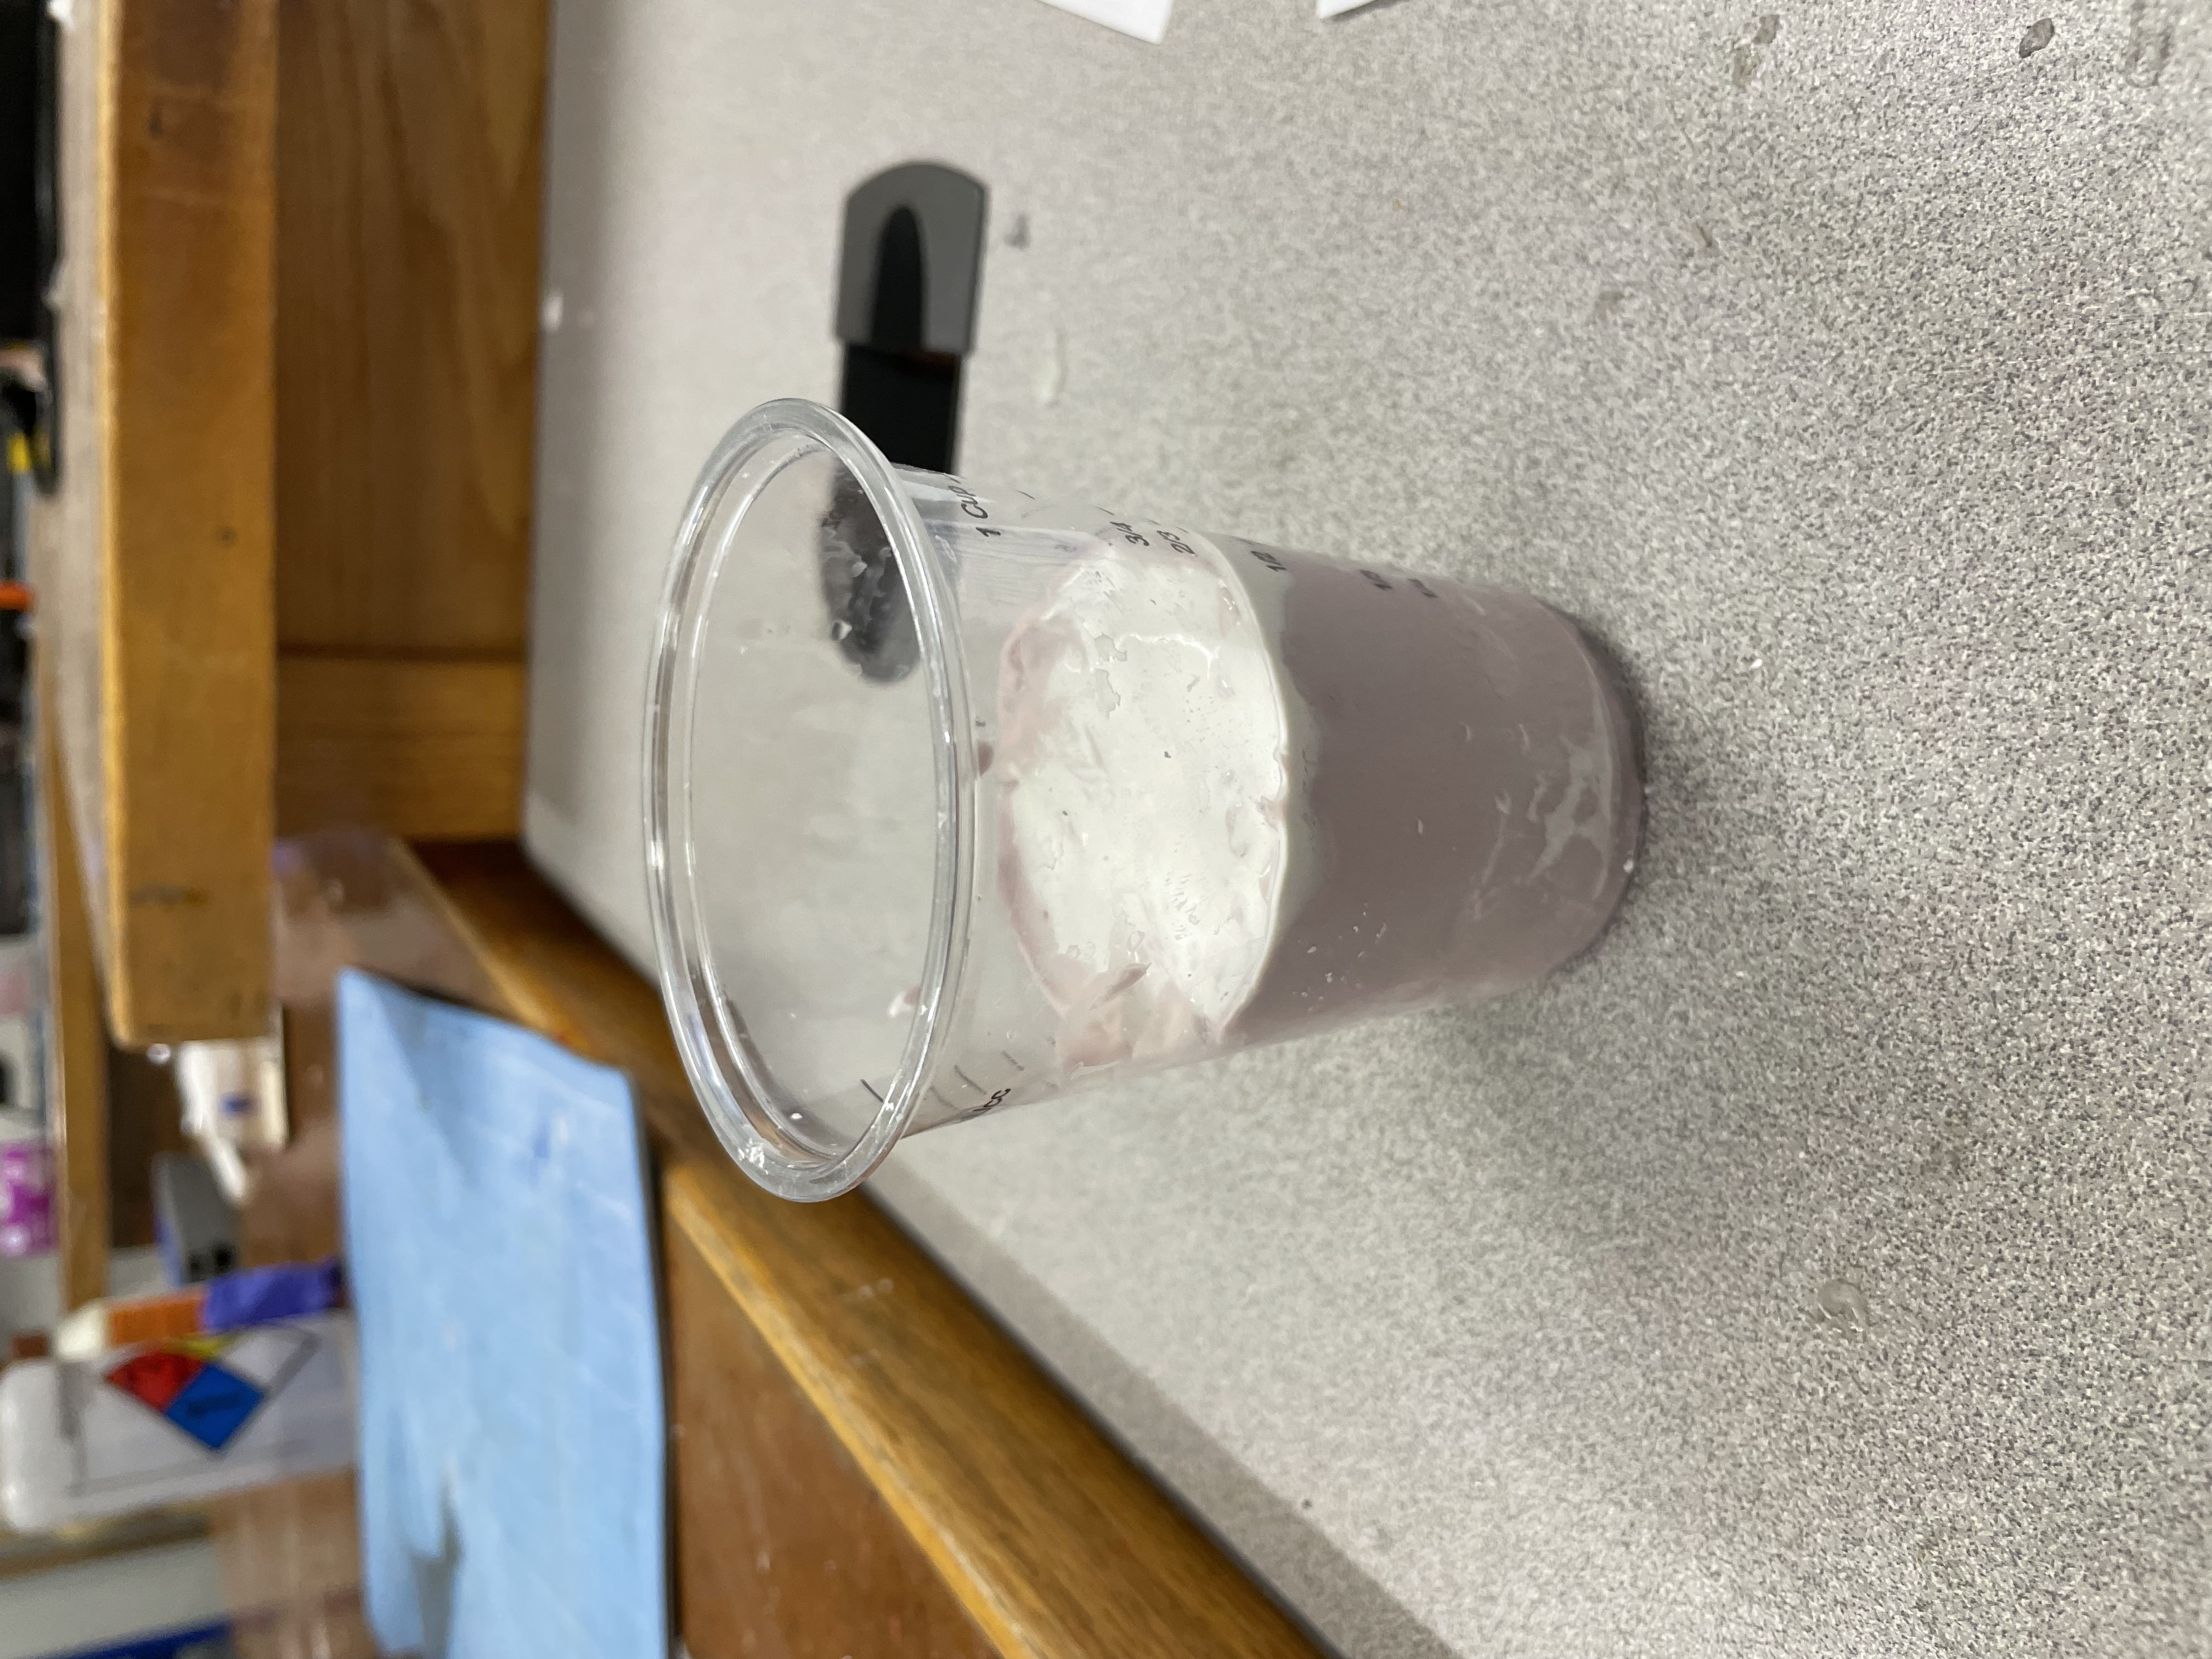
I created the mold with Alja-Safe and cast it using plaster, doing a couple of iterations to improve the quality. Some notes on molding and casting: tap things out to remove air bubbles, and be careful removing your object from the Alja-Safe mold (attach something SECURELY to it to make removal easier).
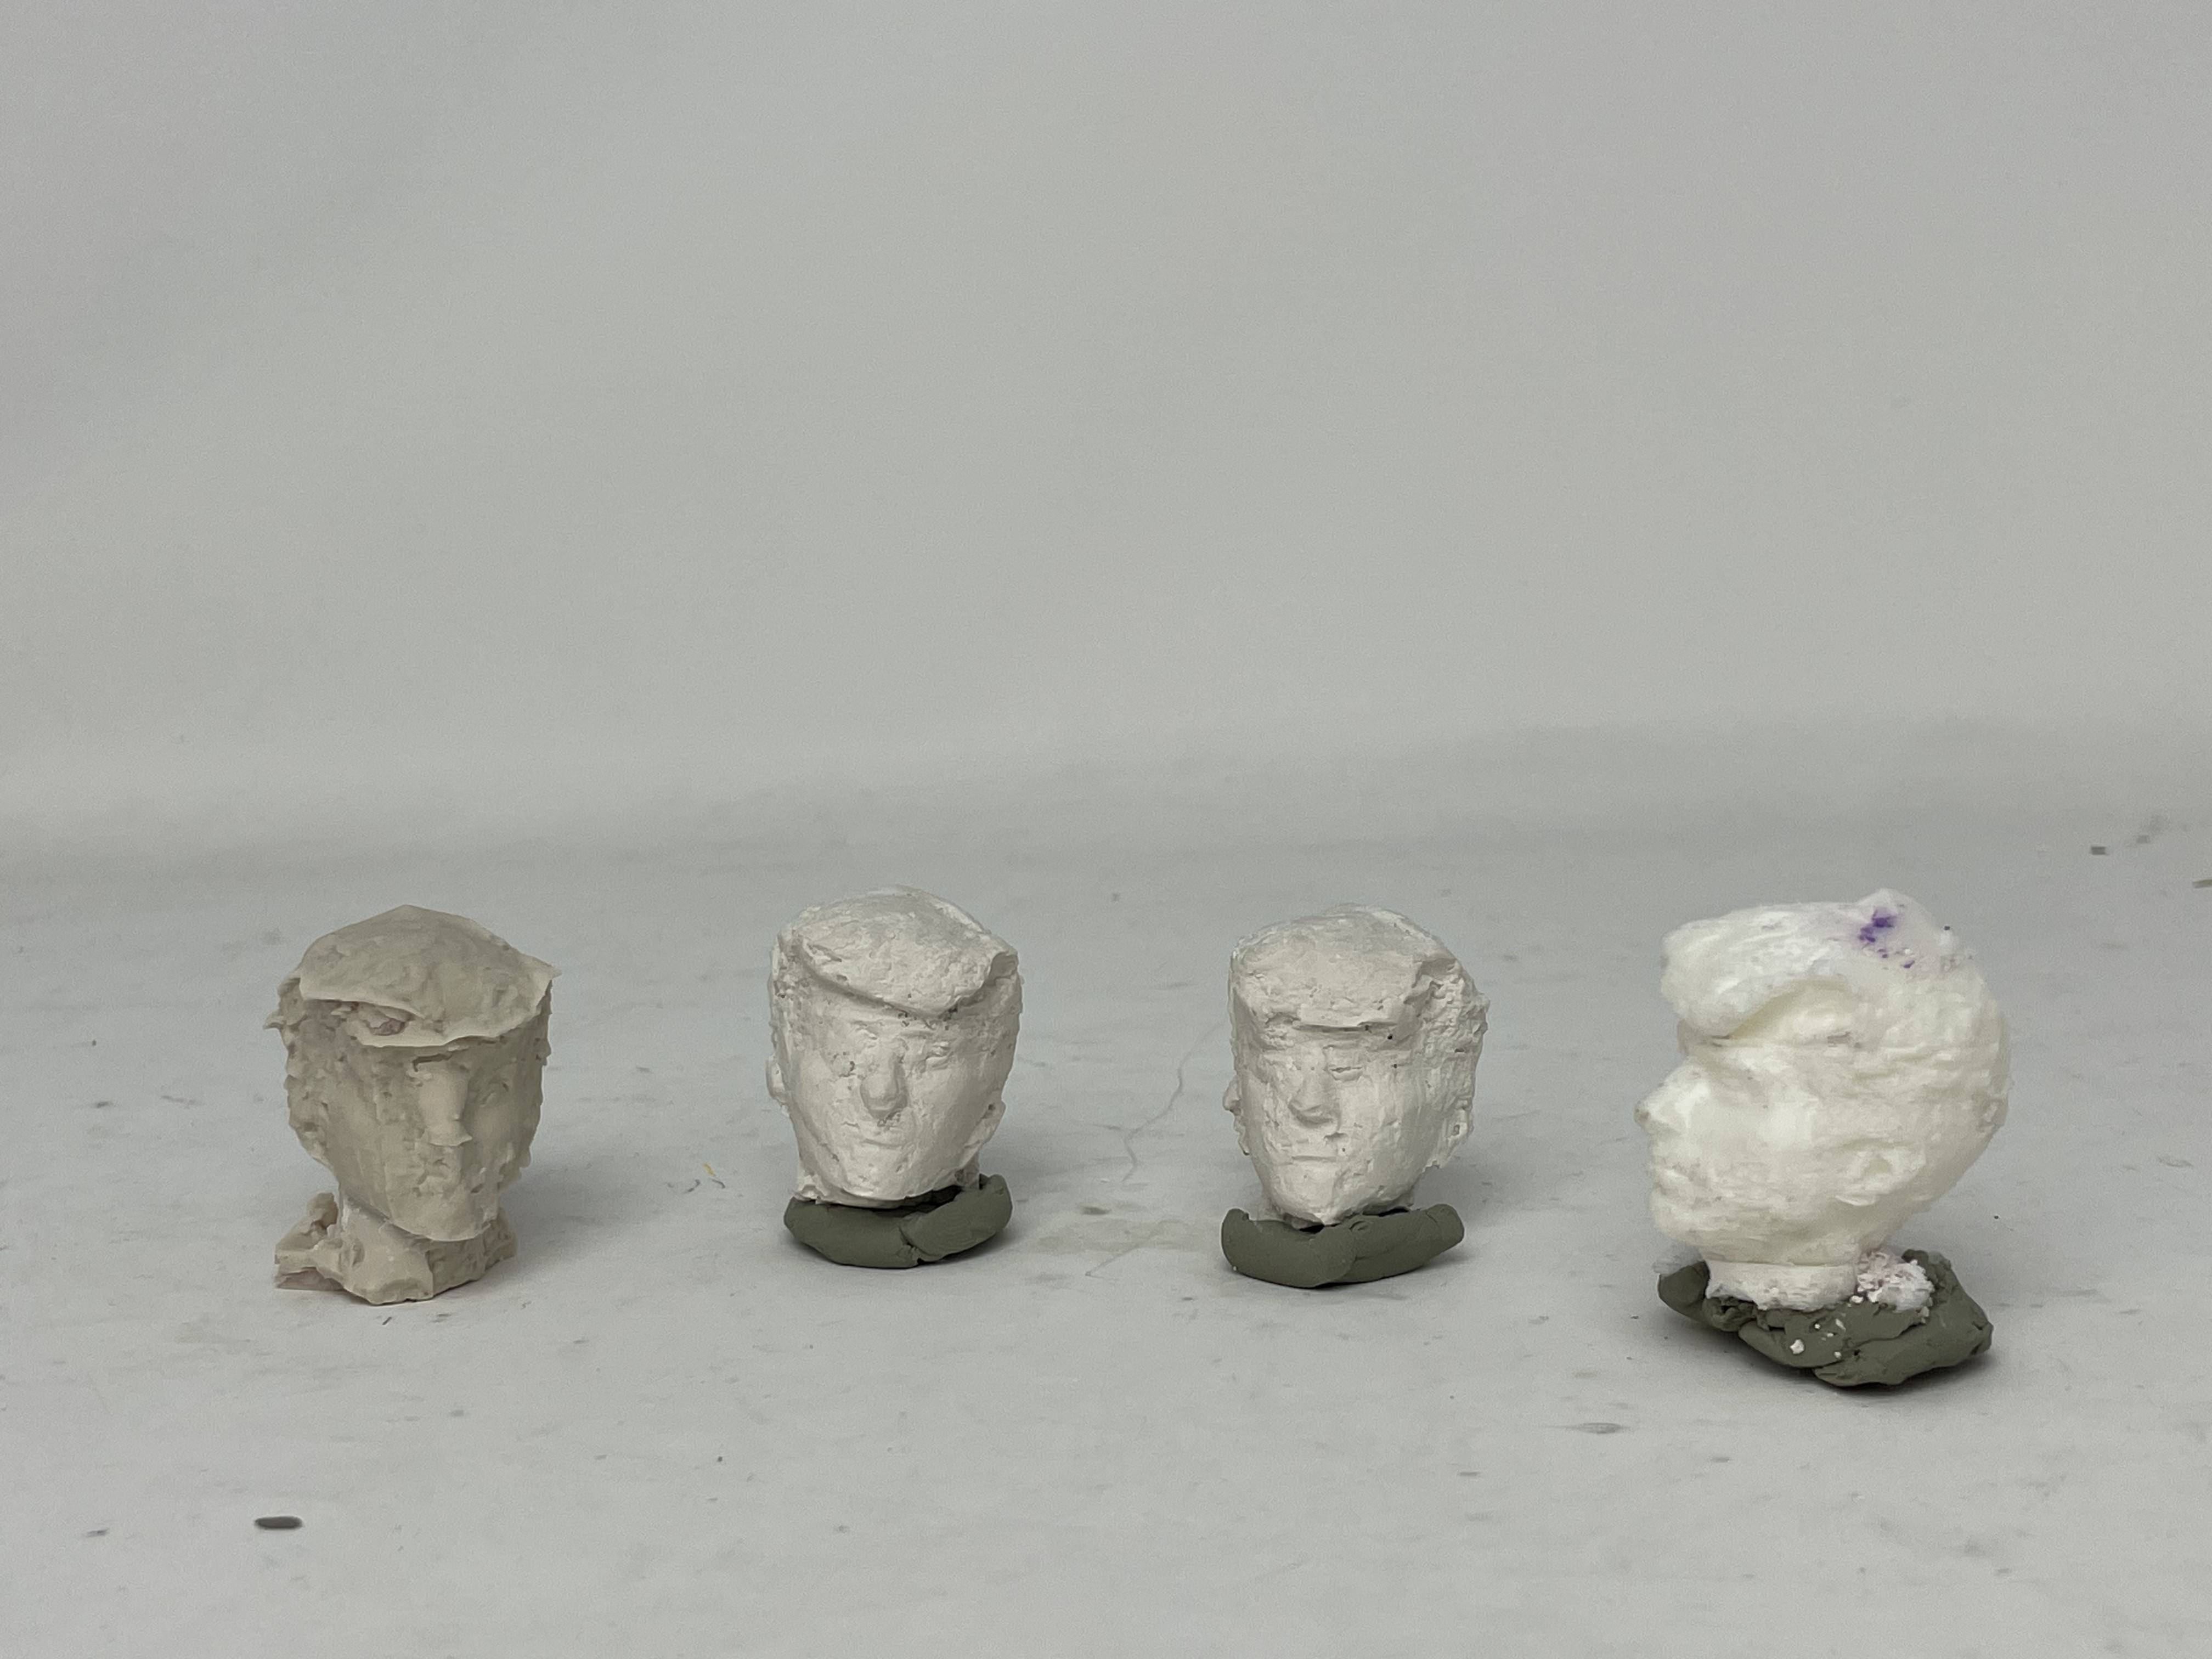
Reflections
This was fun, but I'd probably not do it again. Creating a scan of Jack's head took many scans (and rescans) to assemble a model, and a lot of time (and compute) to post-process to a usable size. The molding and casting wasn't too bad, but I found it hard to capture as much detail as I'd like — partly due to the damage to the mold from removing the object. In the future, I'd look into different molding methods (maybe silicone?) and possibly print a slightly larger model to make the mold from.